Jeep Gladiator decals are a great way to add style to your vehicle. They come in a variety of sizes, shapes, and colors, and can be easily installed with some basic tools and a little patience. In this guide, we’ll walk you through the steps of installing Jeep Gladiator decals so you can get the perfect look for your ride.
Gathering the Necessary Tools and Supplies
The first step to installing your Jeep Gladiator decals is to gather the necessary tools and supplies. You’ll need a clean work surface, a squeegee, masking tape, a ruler, and a sharp craft knife. You’ll also need rubbing alcohol, a cloth, and a can of decal adhesive. If you are looking for jeep gladiator decals, then you may visit this link.
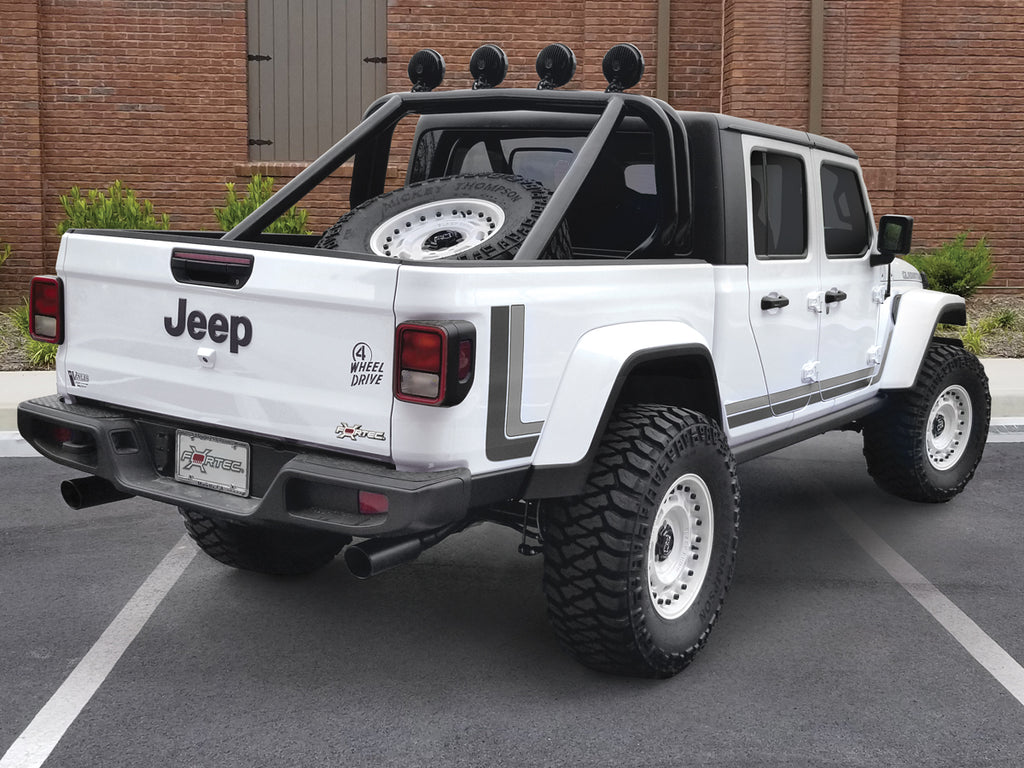
Image Source: Google
Cleaning the Surface
Before you apply any decals, it’s important to make sure the surface is clean. Use a cloth and rubbing alcohol to remove any dirt, dust, or debris from the area where the decals will be applied.
Cutting the Decals to Size
Using a ruler and craft knife, measure and cut the decal to the size you need. Be careful to make sure the decal is straight and even.
Applying the Decal
Once the decal is the right size, you can start to apply it to the surface. Begin by spraying a light coat of decal adhesive onto the back of the decal. Then, use the masking tape to hold the decal in place.
Smoothing Out the Decal
With the decal in place, use the squeegee to press out any air bubbles or wrinkles. Work slowly and carefully to make sure the decal is secured to the surface.